Create Exchange Monitoring Workspace
Configure how Exchange email data is analysed within an Exchange Monitoring workspace.
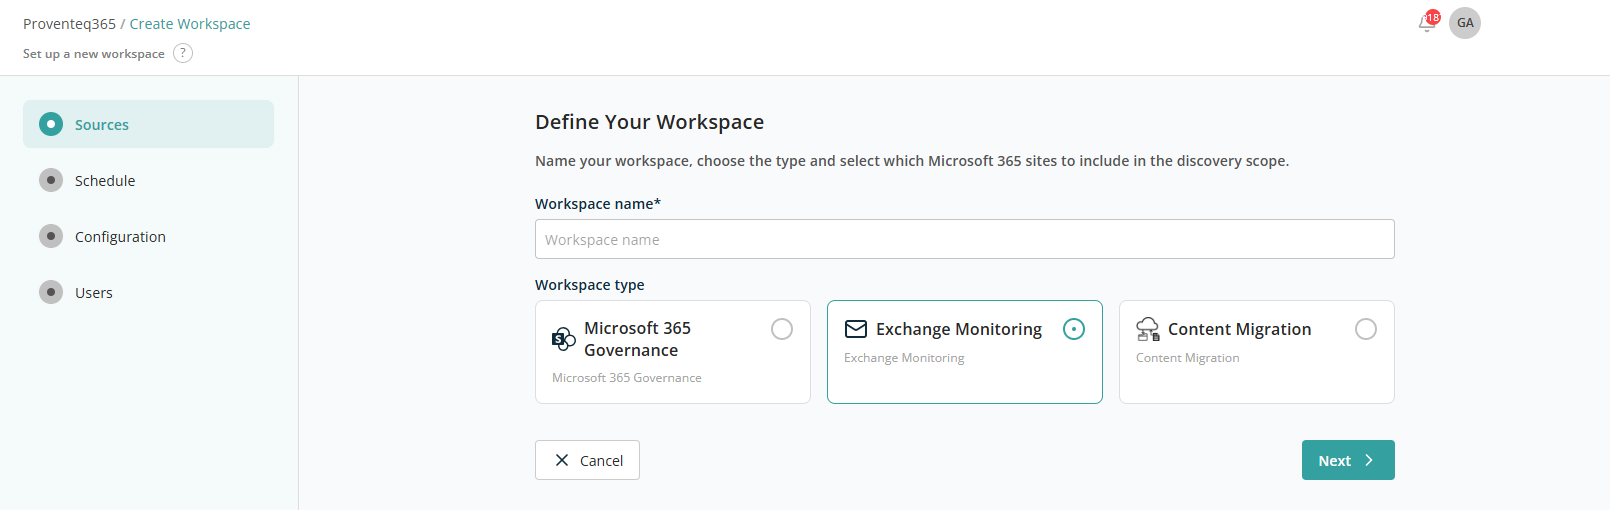
When adding a new workspace, choose the Exchange Monitor card and click Next. You are moved into the Schedule screen:
Scheduling works the same as for the Microsoft 365 Governance workspace type. After scheduling, click Next to reach the Configuration screen:
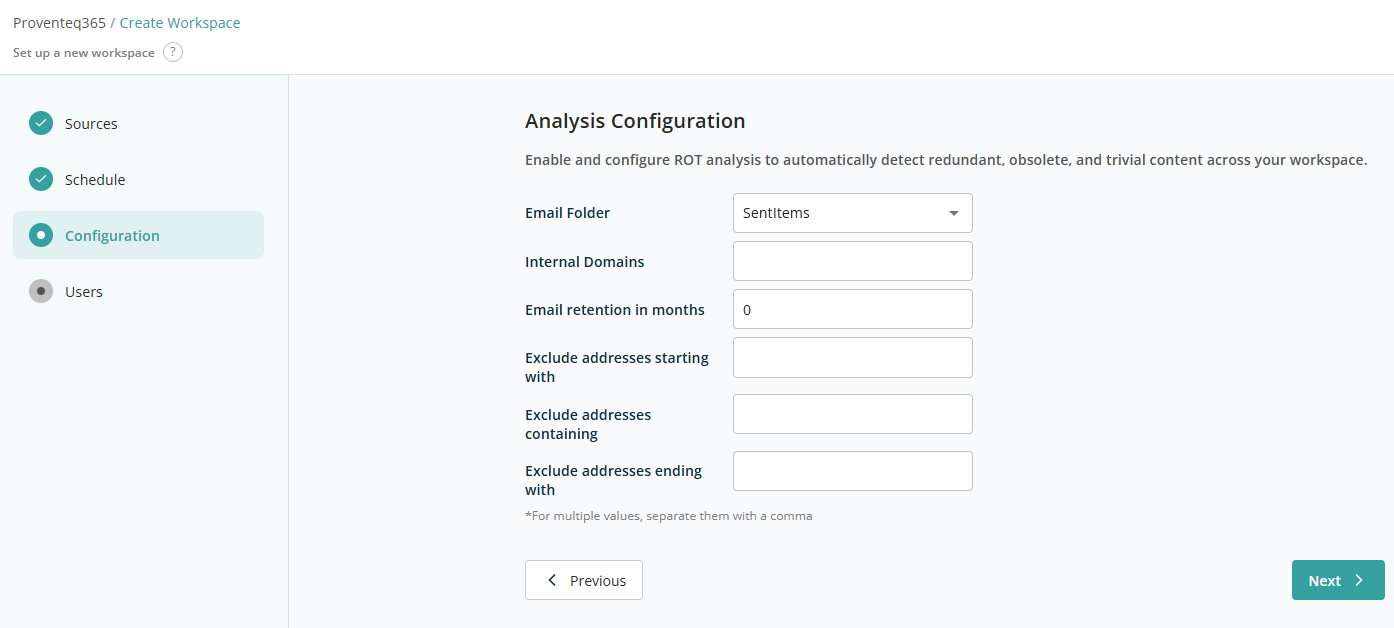
The Configuration screen offers the following options to define how Exchange email data is analysed within the workspace:
- Email Folder — Select the email folder to include in the analysis. Only emails stored in the selected folder are evaluated. Example: Sent Items.
- Internal Domains — Specify one or more internal email domains to differentiate internal from external email communication. Emails associated with these domains are treated as internal. Example: company.com.
- Email Retention in months — Define how long emails should be retained before being considered for analysis based on age.
- Enter
0to apply no retention limit. - Enter a value such as
12to apply a 12-month retention period.
- Enter
- Exclude addresses starting with — Excludes addresses that begin with specific text. Example: noreply, system.
- Exclude addresses containing — Excludes addresses that contain specific text. Example: support, admin.
- Exclude addresses ending with — Excludes addresses that end with specific text or domains. Example:
@external.com.
Upon entering the necessary information, clicking Next opens the Users screen. This works the same as for the Microsoft 365 Governance workspace type.
After all required information has been selected, click Create Workspace to create the workspace and return to the Dashboard.