Workspaces
Workspaces list view and the multi-step wizard for creating Microsoft 365 Governance, Exchange Monitoring, and Content Migration workspaces.
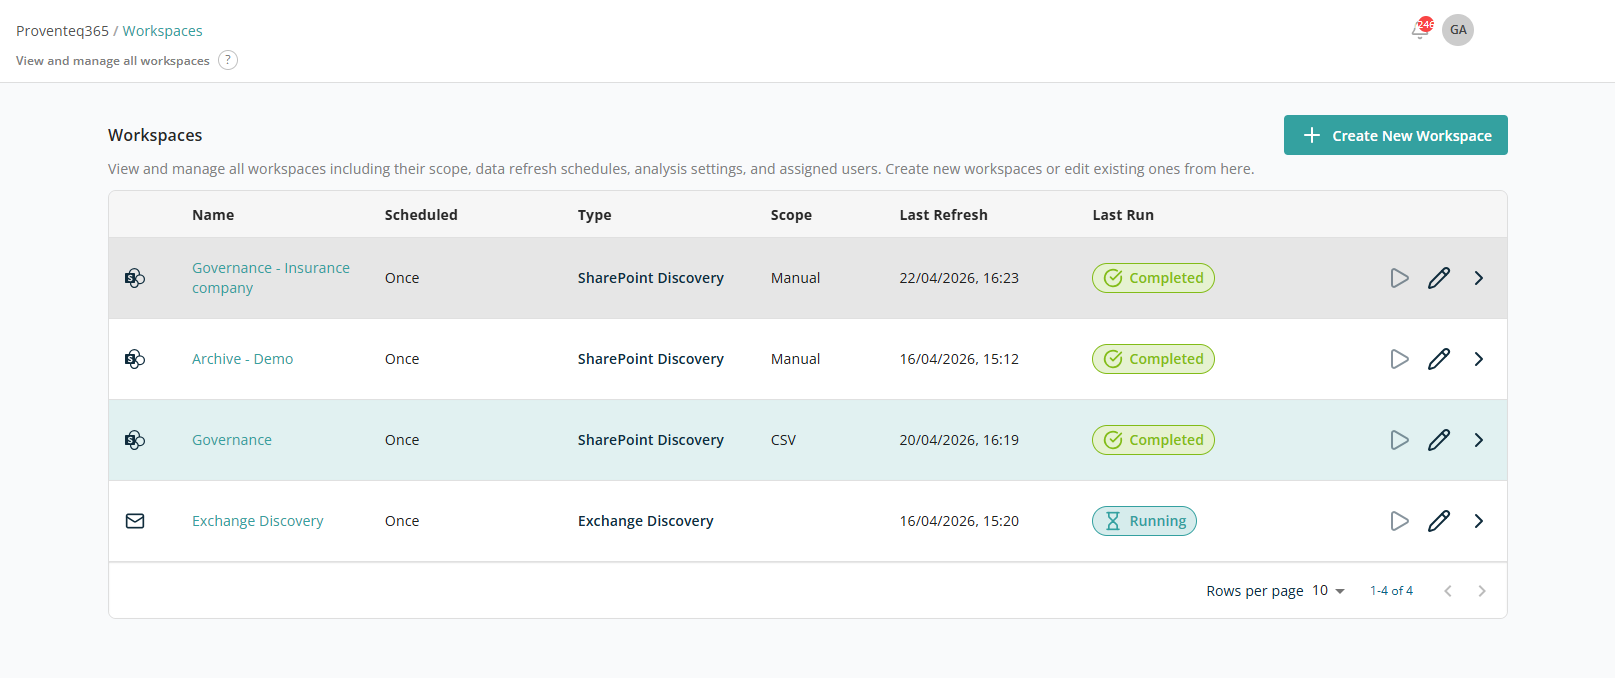
When you click on Workspaces in the menu, the Workspaces screen opens with the following view.
Workspaces List
The main section of the page displays a list of all created workspaces. Each row represents one workspace and includes the following information:
- Name — The name assigned to the workspace.
- Scheduled — The scheduling type (Once or Repeating).
- Type — The workspace type. Possible values are Microsoft 365 Governance, Exchange Monitoring, and Content Migration.
- Scope — Which content is included. Manual means sites were picked by hand, CSV means a list was uploaded, and All means the entire tenant is in scope.
- Last Refresh — The date and time the workspace last pulled fresh data, in
DD/MM/YYYY, HH:MMformat. - Last Run — The status of the most recent run: Completed (green), Running (blue, in progress), or No runs (orange, never executed).
- Action — Contains icons allowing users to Edit, Run, or Show Runs for the workspace:
- Run — Immediately triggers discovery for the selected workspace.
- Edit — Opens the workspace in edit mode.
- Delete — Deletes the selected workspace.
Additional functionality is available at the bottom right of the list table:
- Rows Per Page — Select the number of rows displayed per page from a dropdown. Options include 5, 10, 15, 20, 25, 30, 50, and 100. The default is 10 records per page.
- Total Record Count — Shows the range and total number of records, e.g., "0–10 out of 200."
- Next/Previous Navigation — Navigate between record sets using the
<and>arrow icons.
Create Workspace
The + Create New Workspace button at the top right lets you set up a new workspace from scratch. Clicking it opens a stepper wizard.
For Microsoft 365 Governance
The first screen of the wizard is titled Sources.
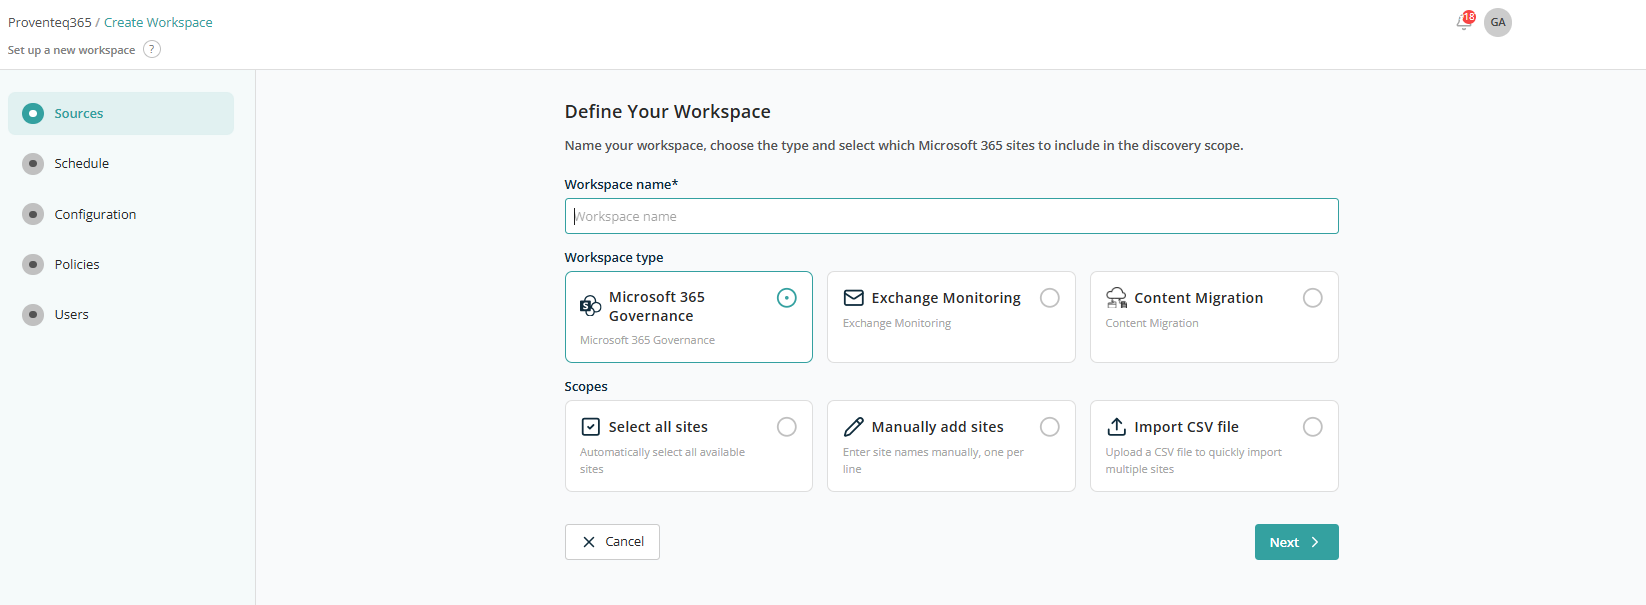
- Workspace name — Required text field for the workspace name.
- Workspace type — Three cards: Microsoft 365 Governance, Exchange Monitoring, Content Migration. By default the Microsoft 365 Governance card is selected.
- Scopes — Three radio options: Select all sites, Manually add sites, or Import CSV File. Only one can be selected at a time.
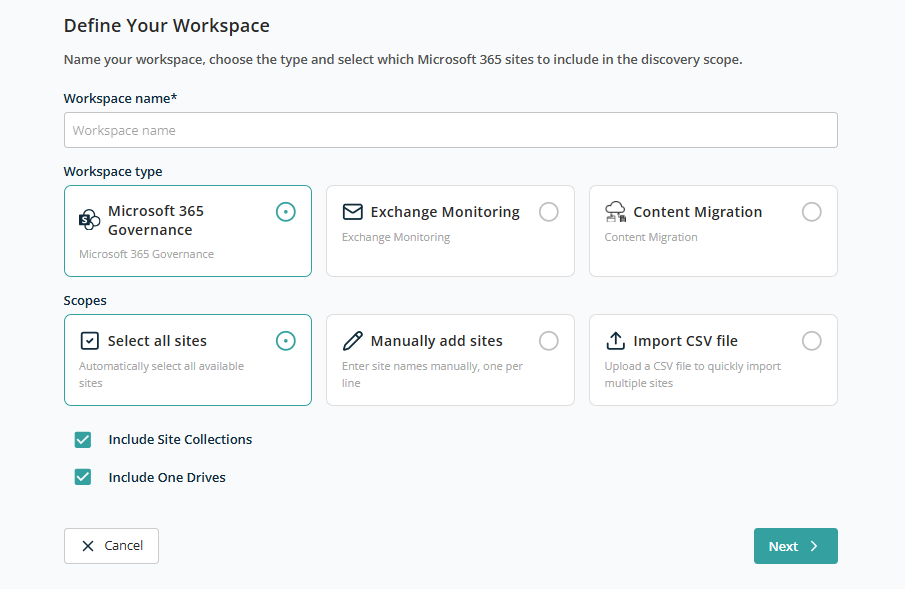
Select All Sites
When Select All Sites is chosen, two additional checkboxes appear to include site collections, OneDrives, or both. You can adjust this combination to suit your needs.
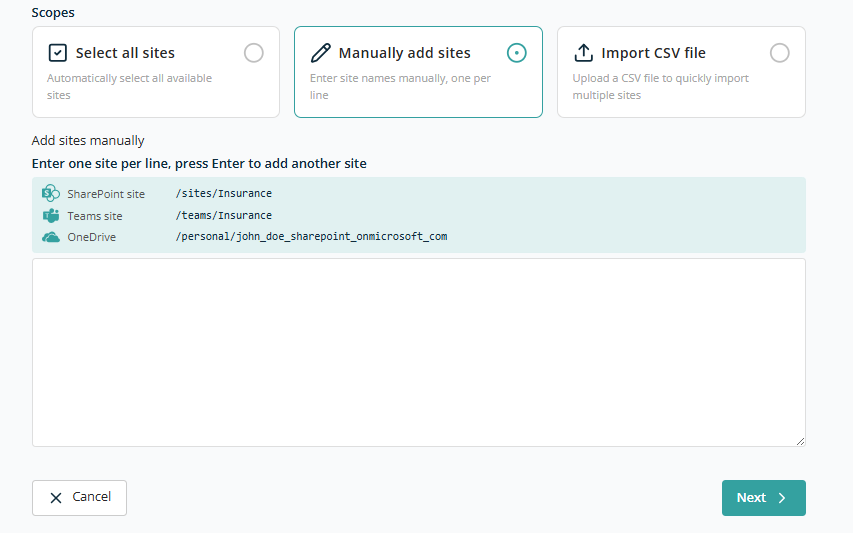
Manually Add Sites
When this option is selected, the following additional controls are displayed:
- Help text showing the sample format for SharePoint sites, Team sites, and OneDrives.
- A text box for entering site URLs. Multiple sites can be added; enter one site per line and press Enter to add another.
Import CSV File
When this option is selected, a drag-and-drop area appears for uploading a CSV file. You can drop the file into this area or click the highlighted region to open the standard file selection dialog.
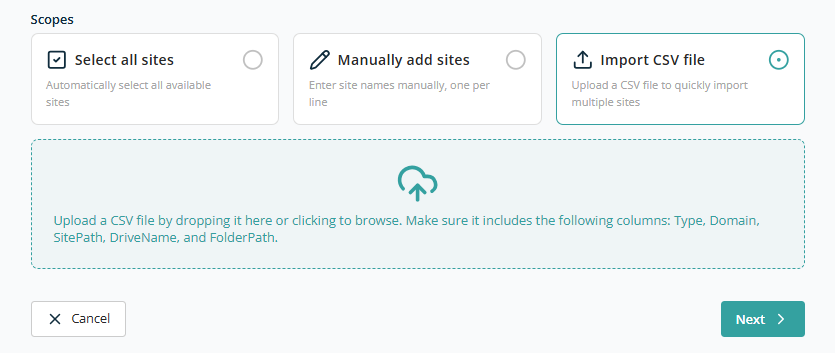
Sample CSV Format:
Type,Domain,SitePath,DriveName,FolderPath
Site,proventeq.sharepoint.com,/sites/Demo_Marketing,,
Site,proventeq.sharepoint.com,/sites/Demo_Training,,
Site,proventeq.sharepoint.com,/teams/Demo_HR,,
Site,proventeq.sharepoint.com,/personal/adelev_proventeqe5_onmicrosoft_com,,
After choosing the appropriate option, click Next to proceed to the Schedule screen. Clicking Cancel returns you to the Workspaces list.
Schedule
On the Schedule screen, the following sections and controls are displayed:
- Header Text — Reads "Data Refresh Schedule".
- Type — Two selectable cards: One time, Recurring.
When One time is selected:
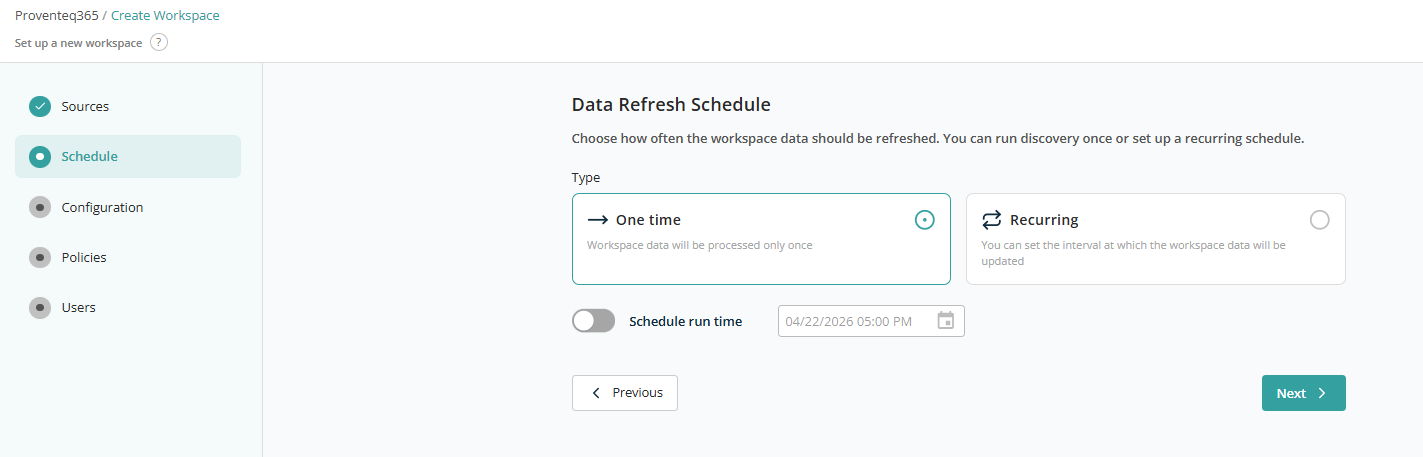
- Schedule Run Time — A toggle, set to OFF by default. Switching it ON activates the Date/Time selection control.
- Date/Time Selection Control — Defaults to the current date with the time rounded down to the nearest hour (for example, if the current date and time are January 25, 2025, 13:30 PM, the control will display
01/25/2025 13:00 PM). The calendar icon opens the Date/Time selection interface.
Note: The date/time control does not allow selection of a date or time in the past.
When Recurring is selected, additional controls appear:
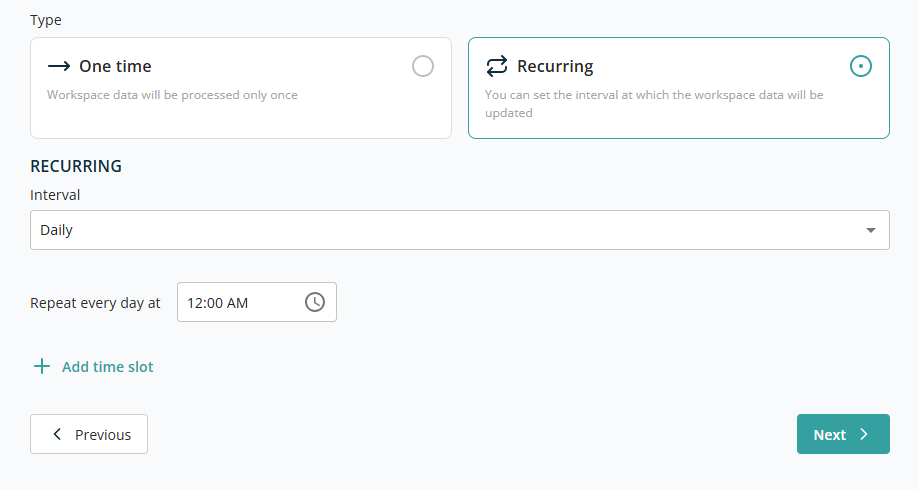
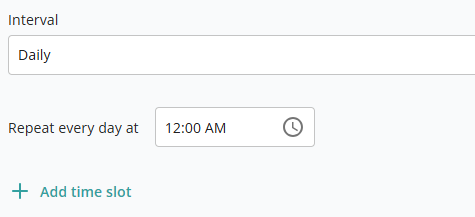
The Recurring dropdown lets you choose between Daily, Weekly, Monthly, or Hourly.
Daily — A time picker appears to set the repeat time (e.g., 11:00 AM, 1:30 PM).
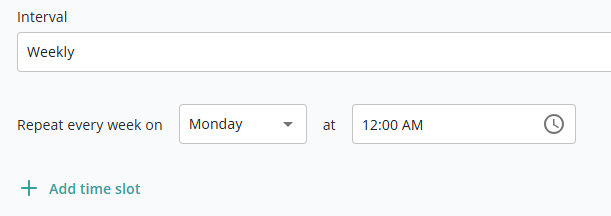
Weekly — Two controls appear: a dropdown to select a day from Monday to Sunday, and a time control to choose a specific time. Use Add Time Slot to schedule repeats on other days.
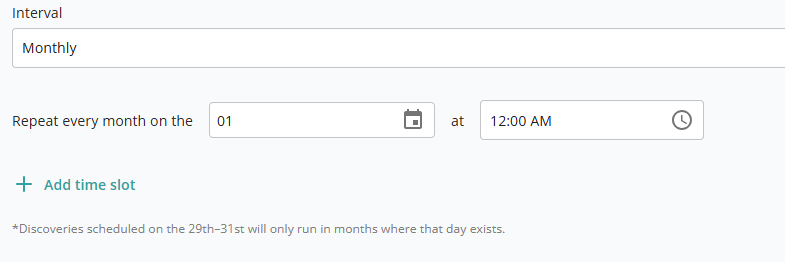
Monthly — Two controls appear: a dropdown to select a day of the month, and a time control to choose a specific time. Use Add Time Slot to schedule repeats on other days of the month.
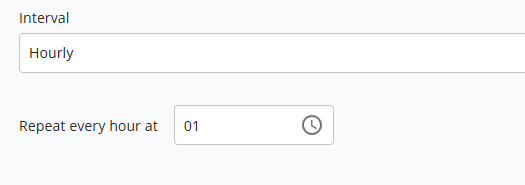
Hourly — A single dropdown to select a minute interval (0–59) at which the scan repeats during the same day.
Click Next to proceed to the Configuration screen. Click Cancel to return.
Configuration
The Configuration screen contains the following sections and controls:
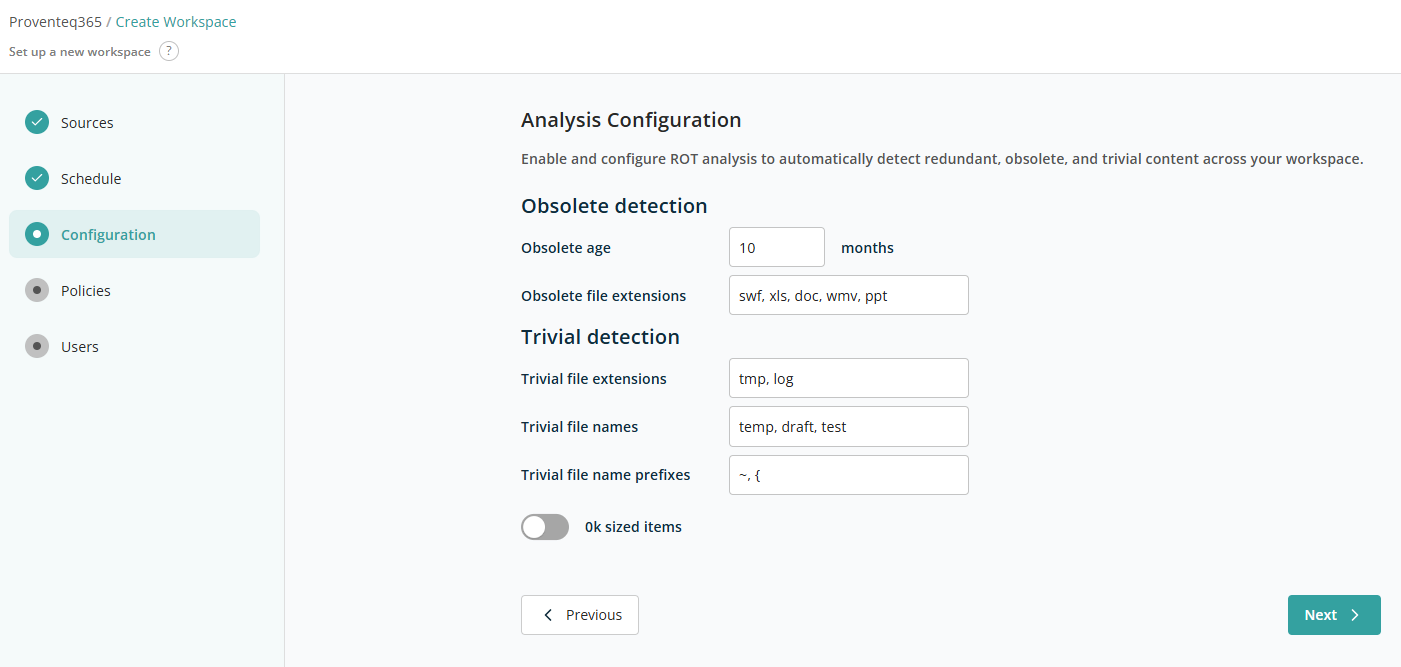
- Obsolete detection — Configures how obsolete content is identified:
- Obsolete age — Text box for age in months. Default value is 10.
- Obsolete file extensions — Text box for file extensions separated by commas. Default value:
swf, xls, doc, wmv, ppt.
- Trivial detection — Configures how trivial content is identified:
- Trivial file extensions — Text box for file extensions separated by commas. Default value:
tmp, log. - Trivial file names — Text box for file names separated by commas. Default value:
temp, draft, test. - Trivial file name prefixes — Text box for prefixes separated by commas. Default value:
~, {. - 0kb sized items — Toggle to include 0 KB files in analysis. OFF by default.
- Trivial file extensions — Text box for file extensions separated by commas. Default value:
Click Next to proceed to the Policies screen.
Policies
The Policies screen contains the following sections and controls:
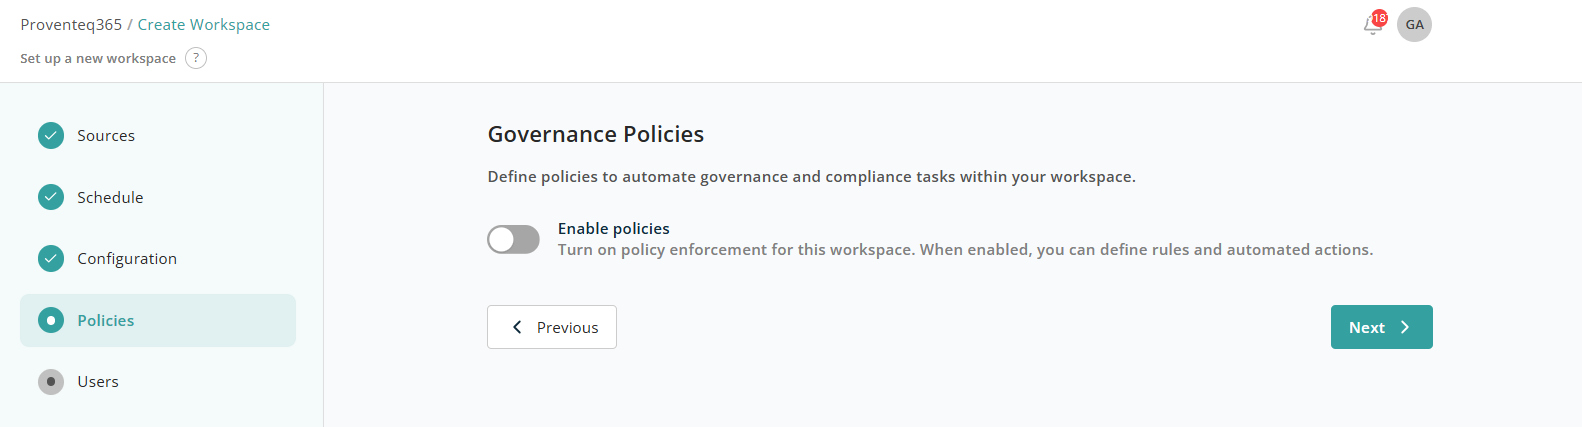
- Enable policies — A toggle that controls whether governance policies are enforced for the workspace:
- Enabled — You can add governance policies and define automated actions. Selected policies are applied during workspace scans or analyses.
- Disabled — No governance rules are enforced, even if policies are defined.
When the toggle is enabled, additional controls appear:
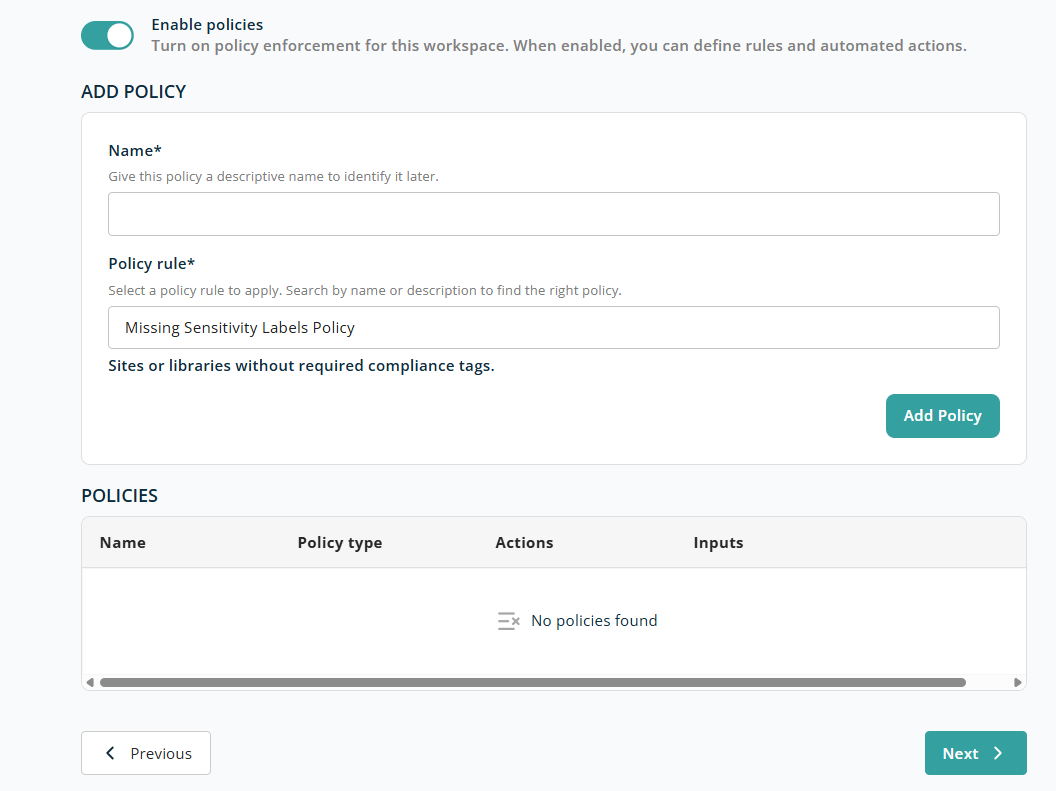
Add Policy
This section is for creating a new governance policy. To add a policy, supply the following required information:
- Name — A descriptive name for the policy. Required.
- Policy rule — Select a predefined policy rule from the list. Additional controls appear based on the selected rule. See Predefined Policies.
Once the required fields are populated, click Add Policy to save it and add it to the policy list at the bottom.
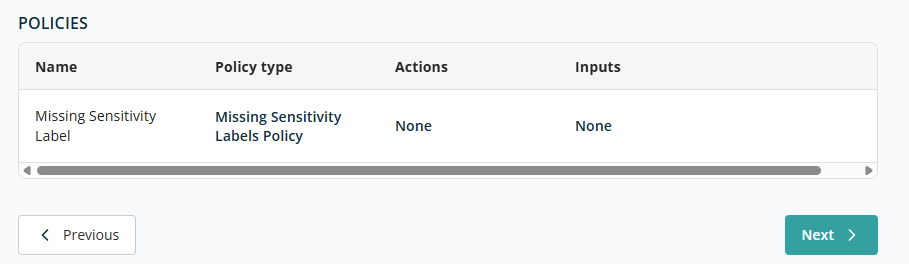
Policies List
This section displays all governance policies configured for the workspace. Each row represents one policy and includes:
- Name — The name you defined.
- Policy type — The type or category of the policy rule.
- Actions — The actions performed when the policy conditions are met. The available actions depend on the policy. See Predefined Policies for the full list.
- Inputs — Parameters or values used by the policy rule.
If no policies have been added, the system displays "No policies found."
Click Next to proceed to the Users screen.
Users
The Users screen contains the following sections and controls:
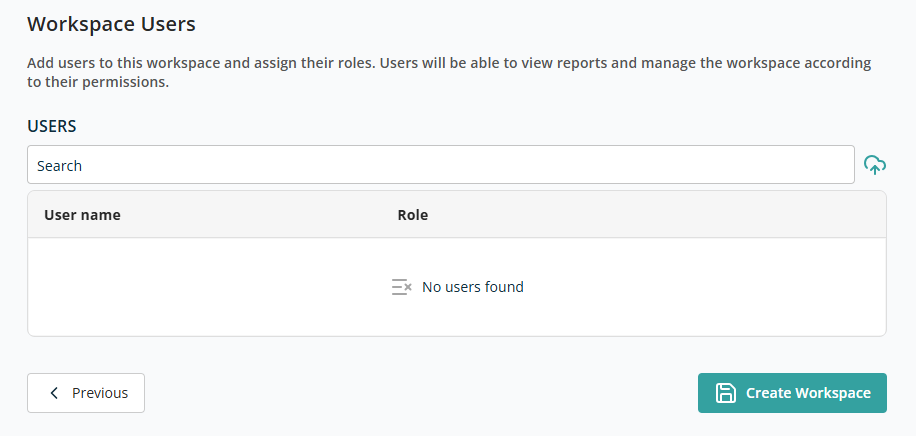
- User Search Box — Enter at least three characters to search for users. Click a result to add the user to the list below.
Each user in the list has a role dropdown with two options: Workspace User and Workspace Admin. A Delete icon next to each user allows removal.
A user cannot be added to the list more than once.
After selecting all required information, click Create Workspace to create the workspace and return to the Dashboard screen.
Role-Based Restrictions
Certain workspace features are restricted based on the logged-in user's role:
| Role | Can create workspace | Can edit existing workspace |
|---|---|---|
| Workspace User | No | No |
| Workspace Admin | No | Yes (except scope of workspace) |